DIY Shabby Chic Candles + Holders

I was in my media room half bath when I realized... I had 3 empty spots on my vanity shelf. I was so happy with the instant transformation of my main bathroom, from the simple addition of my DIY flower vases [check those out here], that I decided I should fill up the space.
I didn’t want to go repeat with any looks I already used in the rest of my home. I definitely wanted something unique, so I had a look around my studio to see what I wasn’t using, and it hit me! Some shabby chic decorative candles. I had everything I needed on hand, so the project didn’t cost me a thing.
You can totally split this project up. You can create the holders and throw in some votive or pillar candles. You can use the holders for storage, your kids bedroom decor… label them with anything you want. If it’s the wick or the wax recipe you’re after, take it… for personal use of course. But it’s all yours to use what you need only, or the whole shebang.
Supplies
3 - 8 ounce quilted Ball Mason jars
1 pound 8 ounces Beeswax
9 - 9" strips 100% cotton bakers twine
3 spoons for dipping twine
1 large 4 cup measuring cup
Piece wax paper
1 tablespoon salt
2 tablespoons boric acid
1 cup water
Grey spray paint primer
Metallic gold spray paint
Black paint
1 Q-Tip
2 ounces scent of choice [or go scent free]
Either a gold sharpie marker or chalk in color of choice
A Note About Supplies
You can change out some of these supplies. I used only what I had on hand. This was a MAJOR from scratch project. If you want to purchase pre-made wicks, awesome. You won’t need the baker’s twin, salt, boric acid, wax paper, or extra water. The perfect size is RRD29.
You can also trade out waxes. I had beeswax and lots of it. You can purchase EcoSoya, if you have paraffin on hand, gel wax, or any type of vegetable wax you’d like to get rid of. You can also use a double boiler for melting your wax and dipping your twine, instead of the measuring cup. This is just what I happened to have and I was going to finally get rid of some of it.

Directions - The Vases
In a well-ventilated area, place your Mason jars, with the lids removed, upside down on the surface you are going to paint.

Primer the jars. Once your primer layer/layers have dried, it’s time for your gold!

Spray on as many light coats as you need. Let them dry completely.
 |
{{{ first coat }}} |
With a Q-Tip and your black paint, hand paint in the 1” oval circle that is already indented into the jar. This is going to be your chalk label area. This is super easy. You don’t have to have a crazy steady hand. I whirled around in 1 sloppy layer, let it dry...
 |
{{{ second coat }}} |
...then went over it with a second layer and fine-tuned some of the edges. Just relax and follow the oval that’s already there for you. Set them somewhere safe. You won’t need them for a while.
The Wicks
Now you’re going to work on your wicks. You can omit this entire area if you bought pre-prepped wicks, or votive/pillar candles.
Mix together your boric acid, salt and water. Soak the strings in the solution for 12 hours. Remove them and let them dry completely.
When they are dry, braid 3 strips together a piece, for a total of 3 braided wicks. Tie a knot at both ends.
The Candles
Now you’re ready to finish off your candles. Again, if you bought votive or pillar candles, you won’t need this section either. You only need this section if you are creating from scratch, or are working with homemade or store bought wicks and wax.
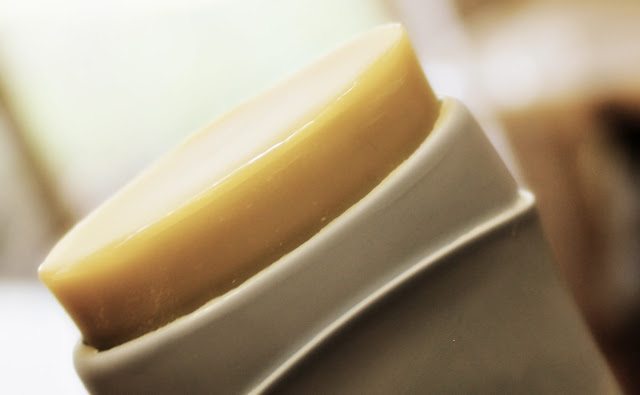
Pop your wax into your microwavable measuring cup and melt it until mostly melted. Then finish the melting process by stirring. Dip your wicks into the melted wax, except the last inch, and set them aside to dry on the wax paper.
I dipped once so I could keep the cool green and white stripes from my bakers twine. You can dip a few times to get a stiffer wick, or to cover up color you don’t like. If dipping multiple times, let the wicks cool off for about 1 minute between dips.
Take your wicks and wrap the un-dipped end around the handles of 3 spoons, or you can do what I did and use some chopsticks. Use a piece of tape to secure the wicks.
Pour your fragrance or essential oils of choice into the remaining wax. I used a blend of floral essential oils and some wood notes to create a clean, beachy type smell.
Pour the remaining wax into the candle holders you created to about a quarter inch from the top. Trim the bottom of your wicks so they reach the bottom of your candle, but don’t have a ton of extra slack.

Dip them and move them where needed, to be as close to the middle of your candle as possible. Let them sit and cool for at least 4 hours.

Cut your wicks back to where you want them, then write or chalk on whatever message you would like on your candles. That’s it! You just made something cool out of a bunch of nothing that you had sitting around.
 MORE WAYS TO CONNECT…